This tutorial will guide you to set up Jena on your Eclipse. At the time of writing, the latest version of Eclipse is 4.7.0. The version of Java used for this tutorial was Java 1.8.0_121. The operational system should not be a problem, so the only requirements are Eclipse, Java 1.8.x, and git to checkout the Jena source code.
Setting up your environment
The first thing you will need to install is a Java JDK 1.8.x. The installation instructions vary depending on the operating system, and will not be covered in this tutorial.
Once you have Java installed, you can proceed installing Eclipse. You can either download an Eclipse distribution, or download the installer and choose one amongst the available packages. For this tutorial, you will see instructions and screenshots taken from an Eclipse IDE for Java Developers.
Eclipse comes with a bundled Apache Maven, but you may prefer to install it to another directory and customize your local settings. As this is not a must have requirement, this will not be covered in this tutorial.
Getting the source code
Follow the instructions from our Getting involved in Apache Jena page to check out the code from the Git repository. Most developers will check out the code into their Eclipse workspace folder. But you should be able to import it into Eclipse from a different folder too, as will be shown in the next sections.
Do not forget to run mvn clean install as instructed, so that Eclipse will be able to
find all local artifacts with no issues.
Importing the source code into Eclipse
Eclipse comes, by default, with Maven integration. In the past you would have to install and configure a plug-in for that. But assuming you followed the instructions from the previous sections, you should be ready to import the source code.

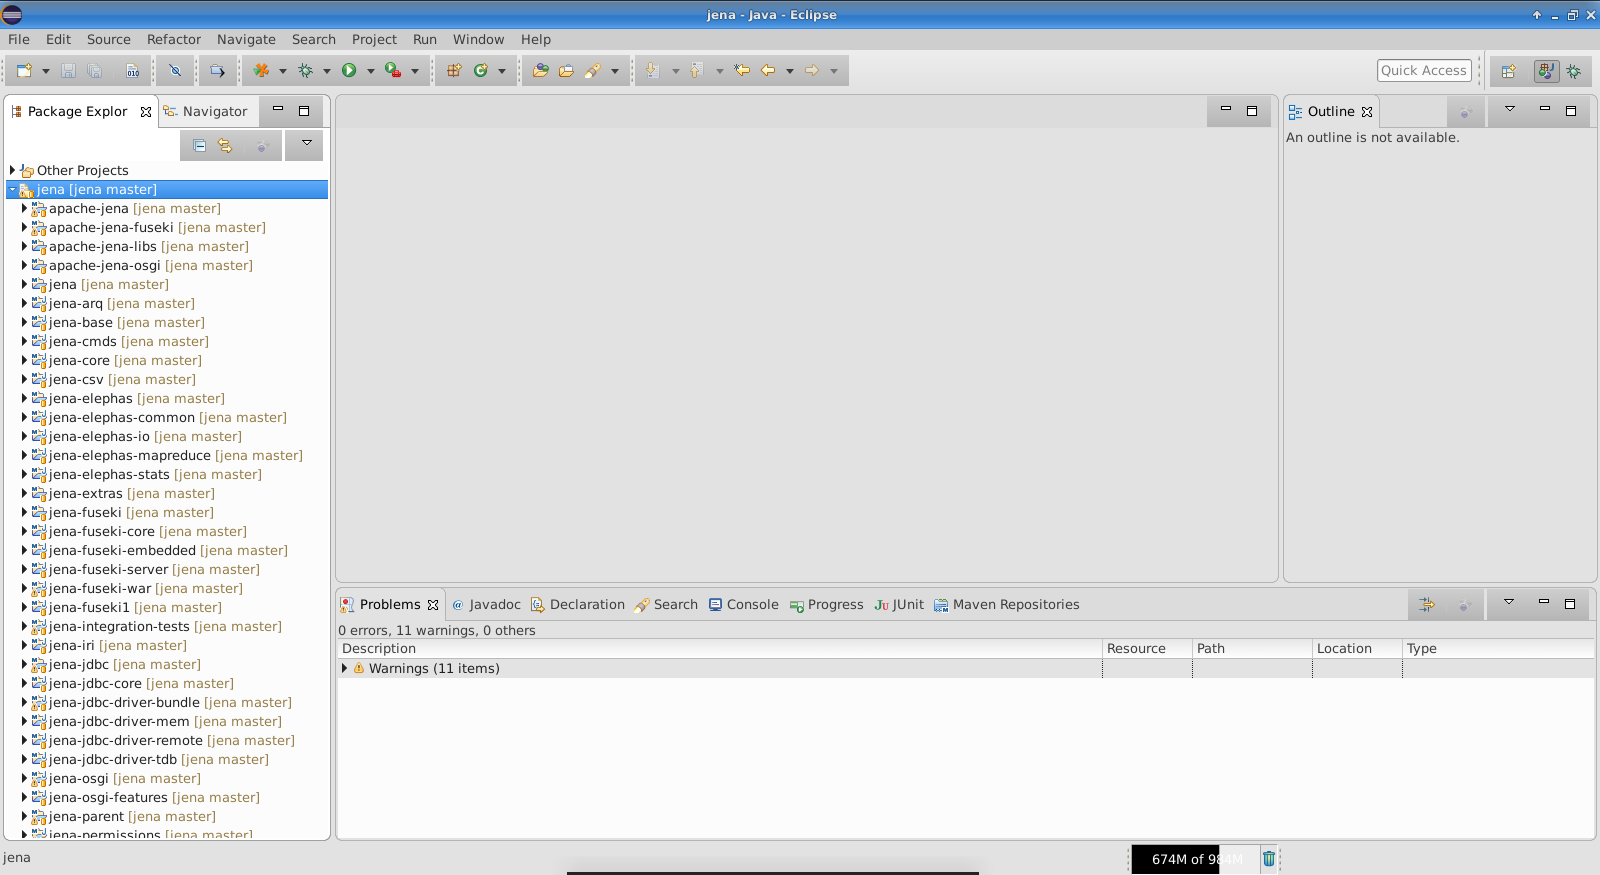
In the previous picture, you can see an empty Eclipse workspace. The view was configured to display working sets, and there is a Jena working set already created. This is not necessary for this tutorial, but you may find it useful if you work on separate projects at the same time (e.g. working on Apache Commons RDF and Apache Jena projects simultaneously).
Eclipse keeps, by default, your projects on the left hand side panel. Right click somewhere on that panel and choose Import. Alternatively, you can navigate using the top menu to File / Import.
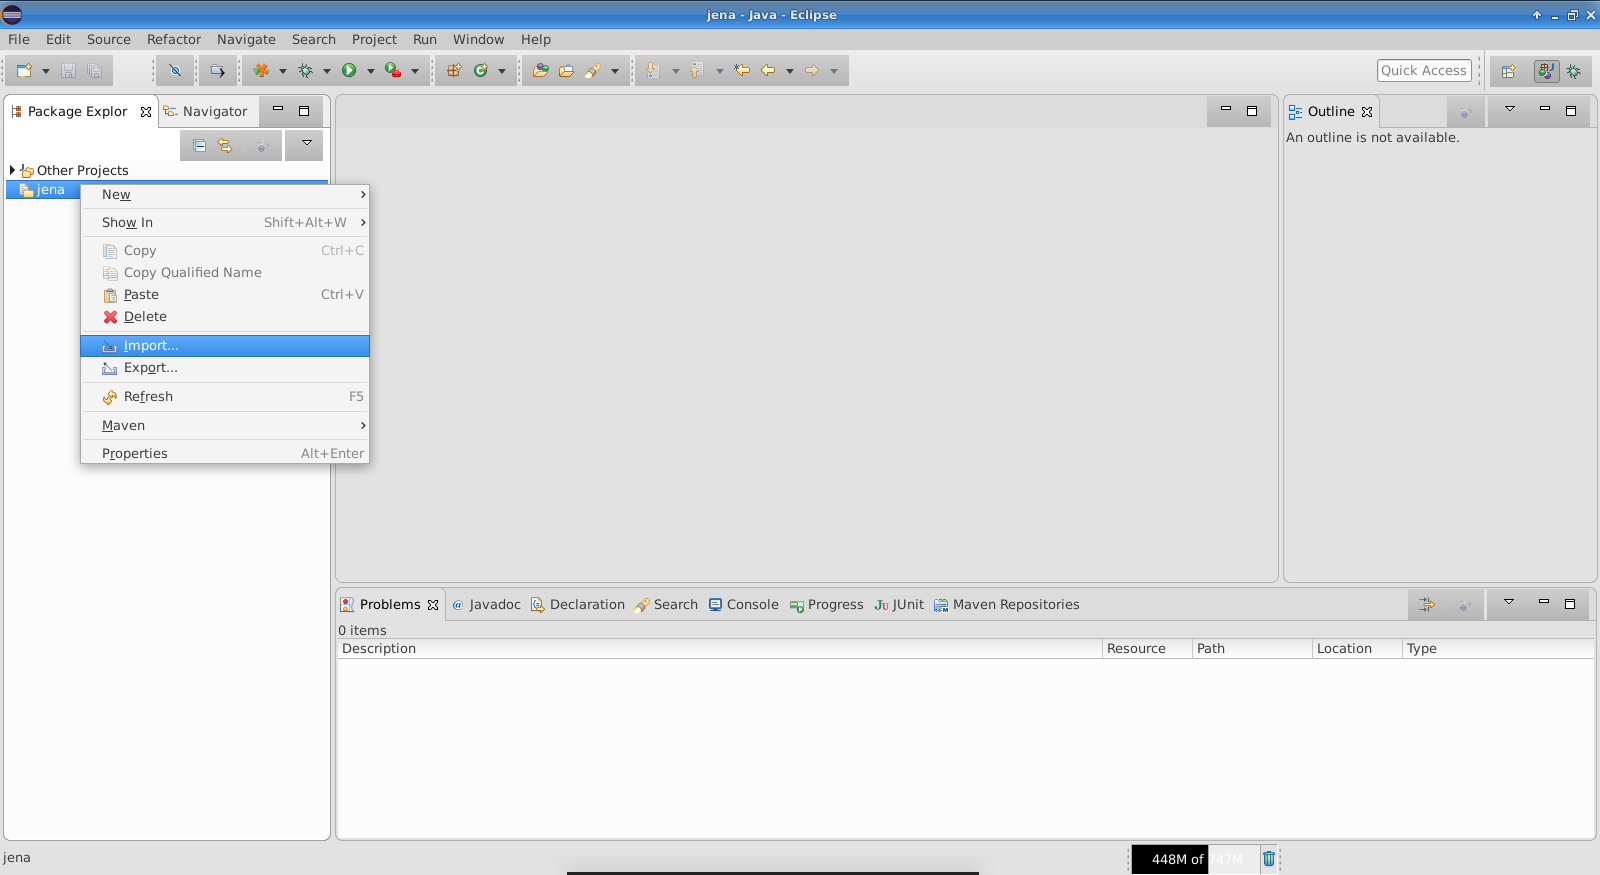
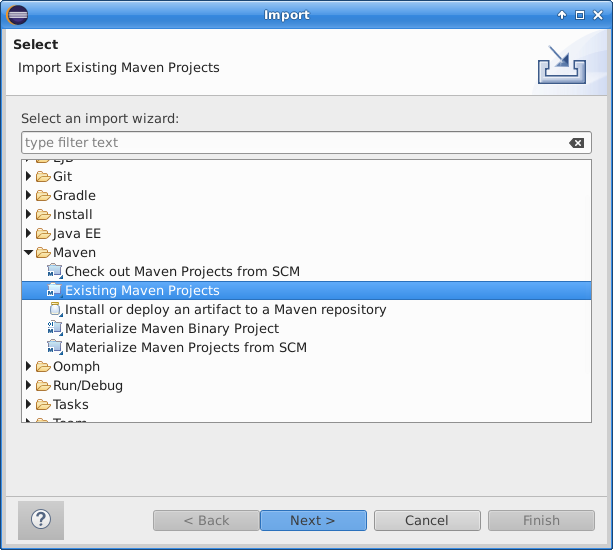
That will open a menu dialog, where you should find several types of projects to import into your workspace. For Jena, you must select import Existing Maven Projects, under the Maven project category.
Clicking Next will bring you to another screen where you can choose the location of Jena source code. Point it to the folder where you checked out the Jena source code in the previous section of this tutorial.
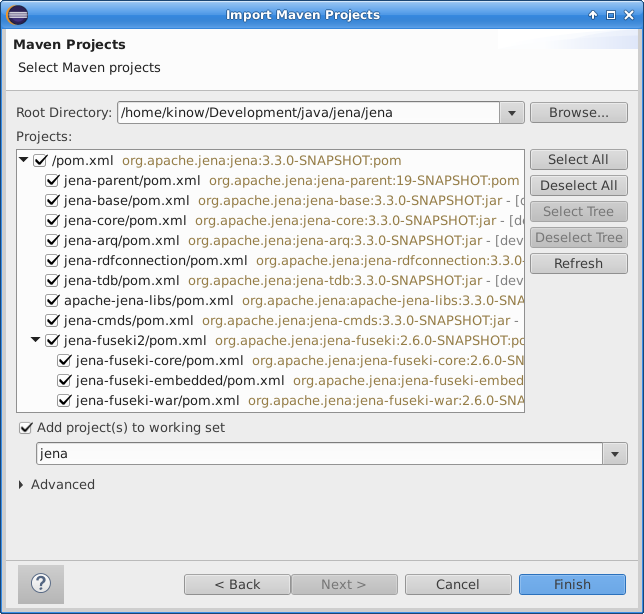
Click Finish and Eclipse will start importing your project. This may take a few minutes, depending on your computer resources. You can keep an eye at the Progress tab, in the bottom panel, to see what is the status of the import process.
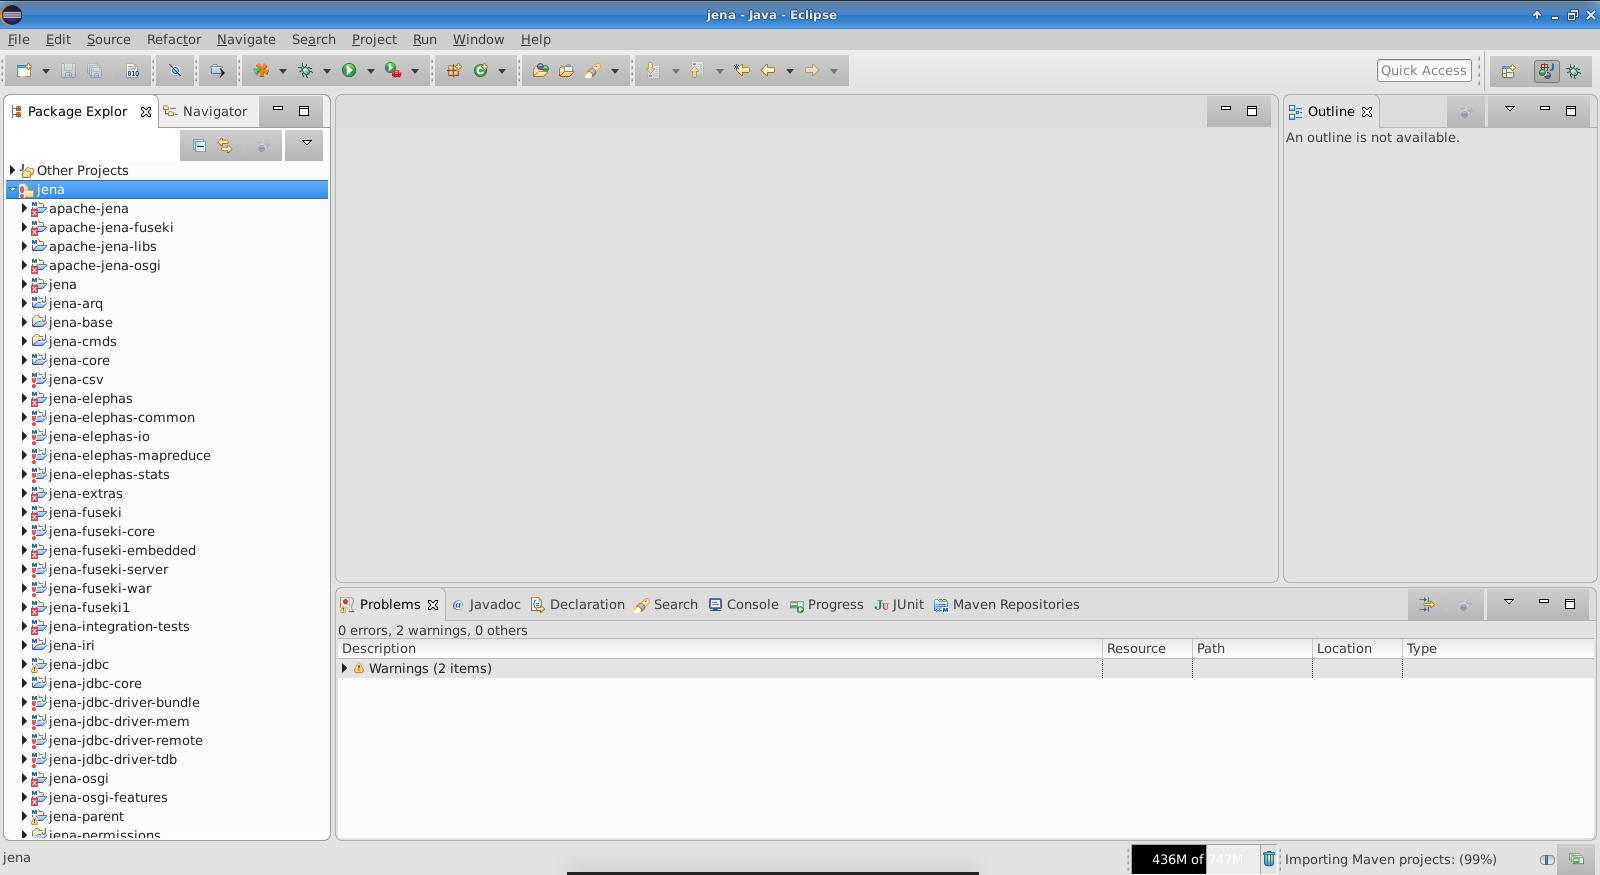
Once the project has been imported into your workspace, you should see something similar to the following screenshot.
After the import process is complete, Eclipse will start building the project automatically if you have it configured with the default settings, or you may have to click on Project / Build All.
Eclipse will display a red icon on the project folders with build problems. We will see now how to fix these build problems, so Eclipse can successfully build and run the project.
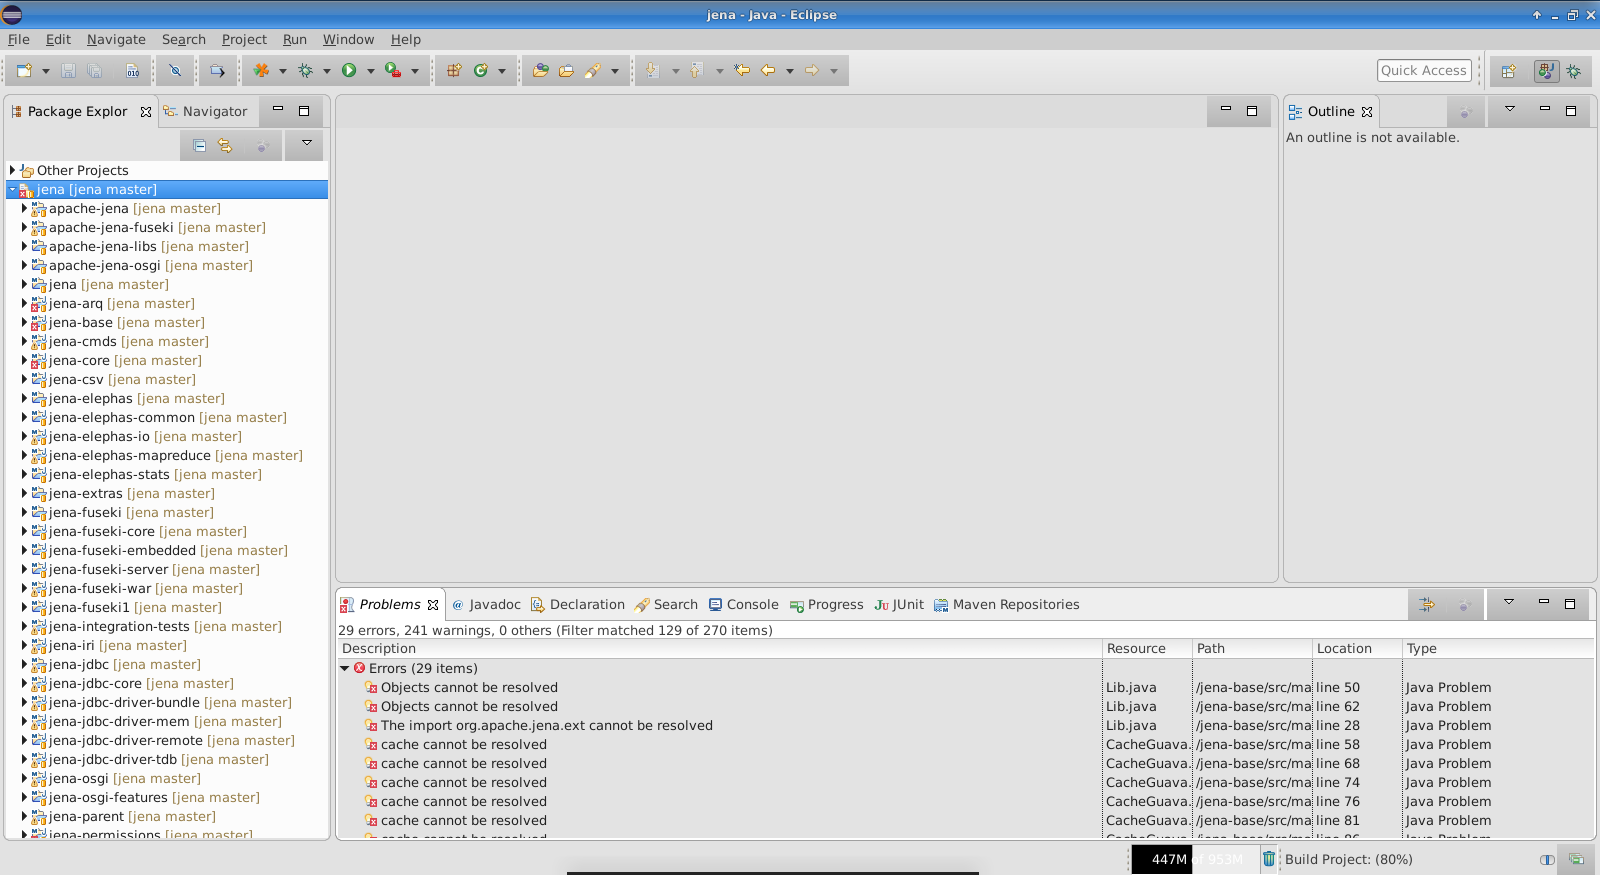
The build problems are related to a known issue due to how the project shades Google Guava classes.
The workaround is to make sure the jena-shaded-guava Maven module remains closed in Eclipse. You can simply right click on the project, and choose Close. Its icon should change, indicating it has been closed.
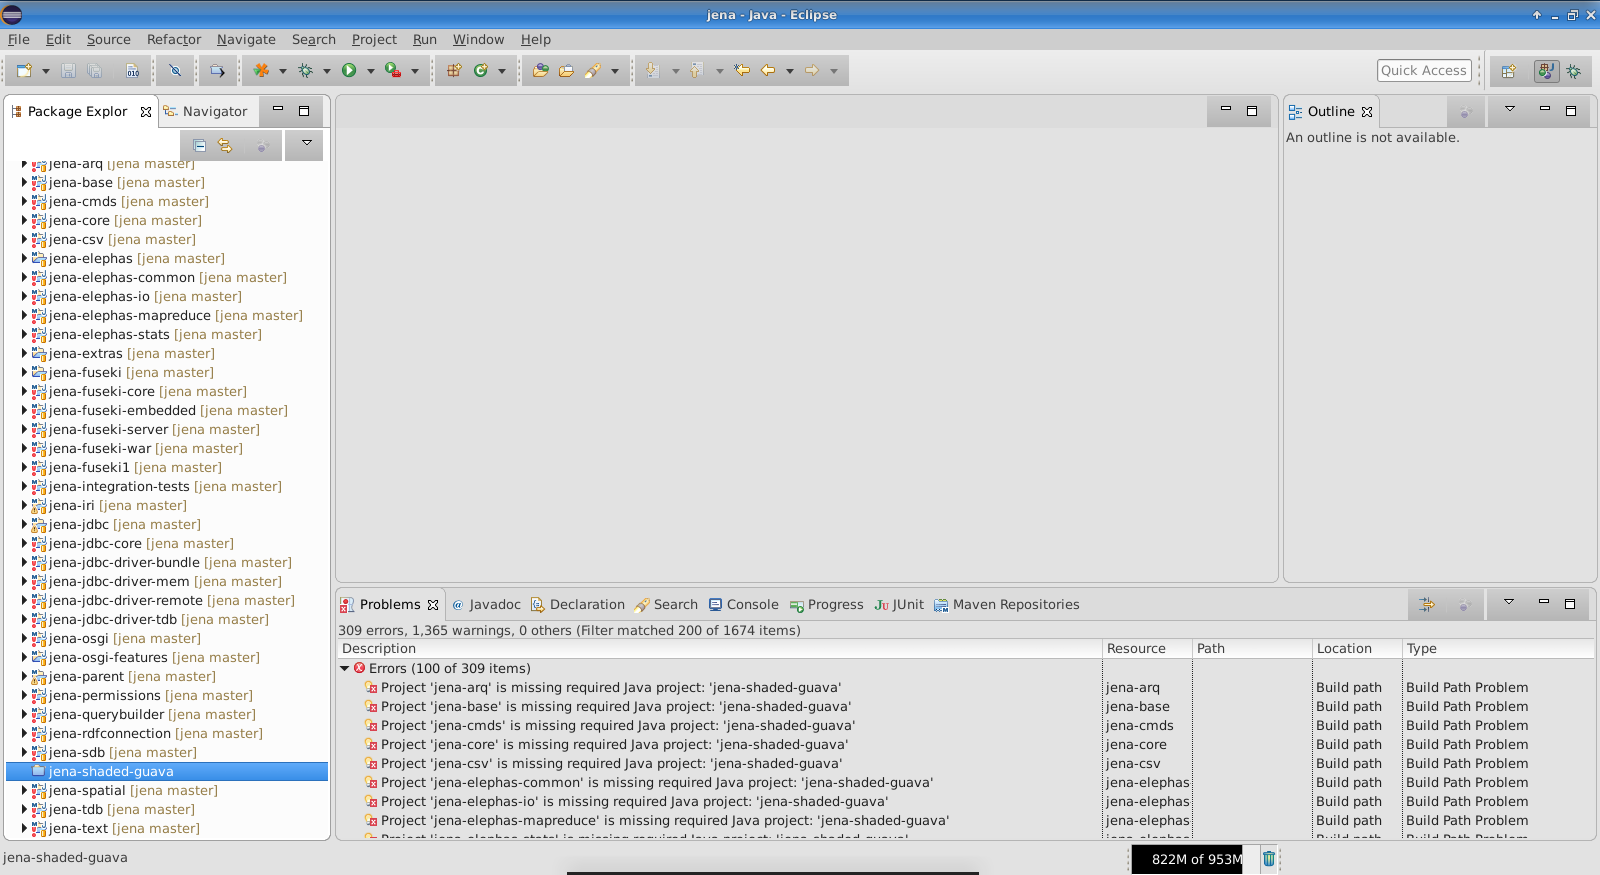
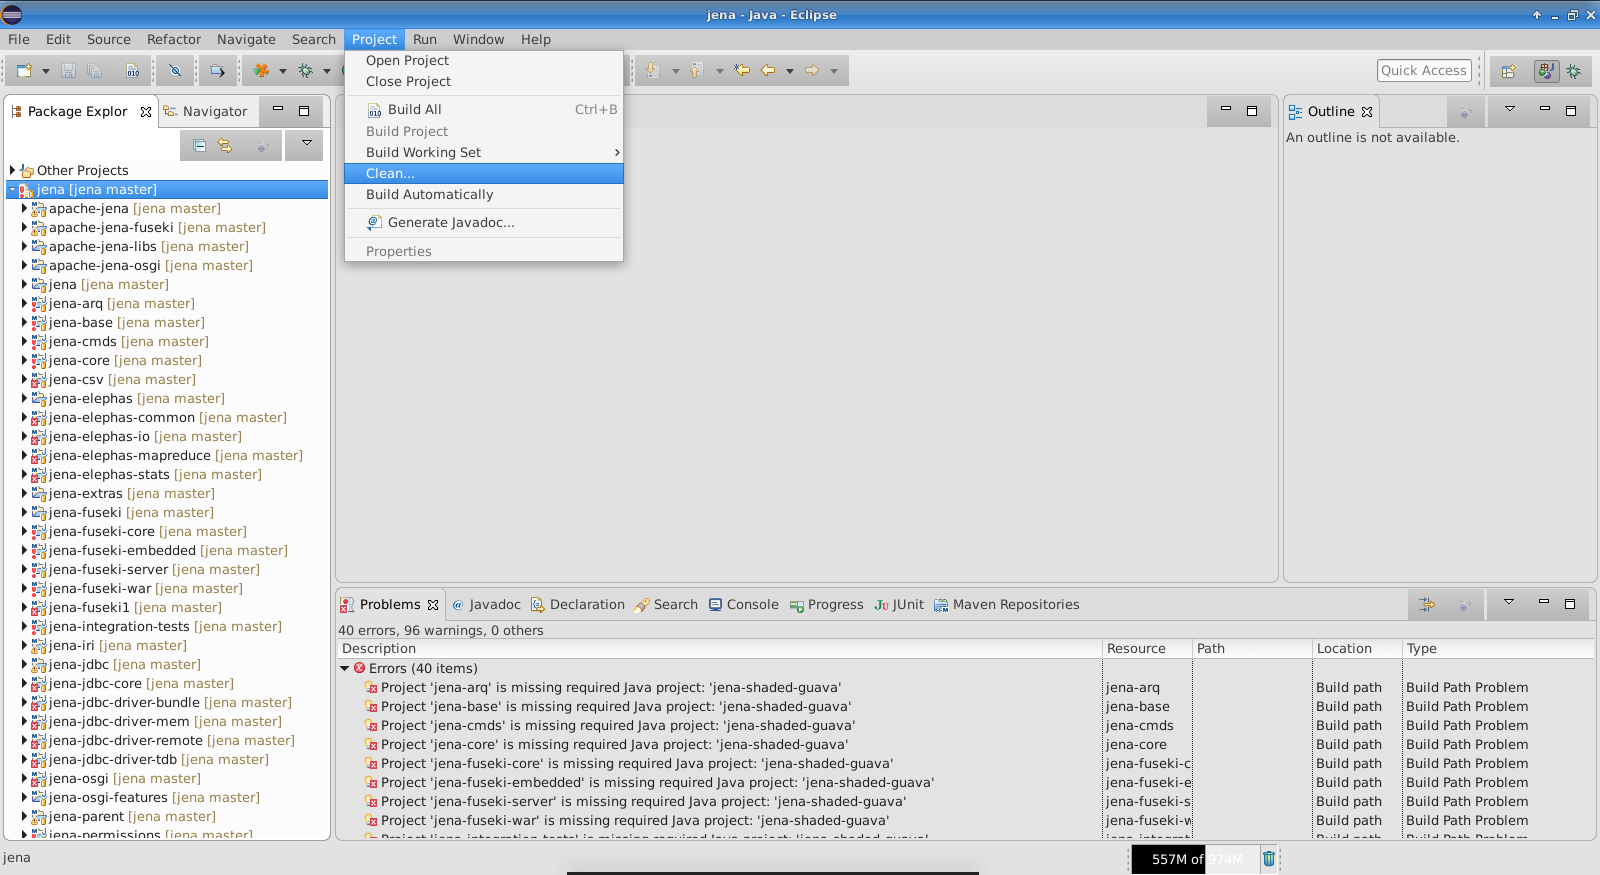
After doing that, it is good to trigger a Clean on all projects, so that Eclipse can clean and re-build everything.
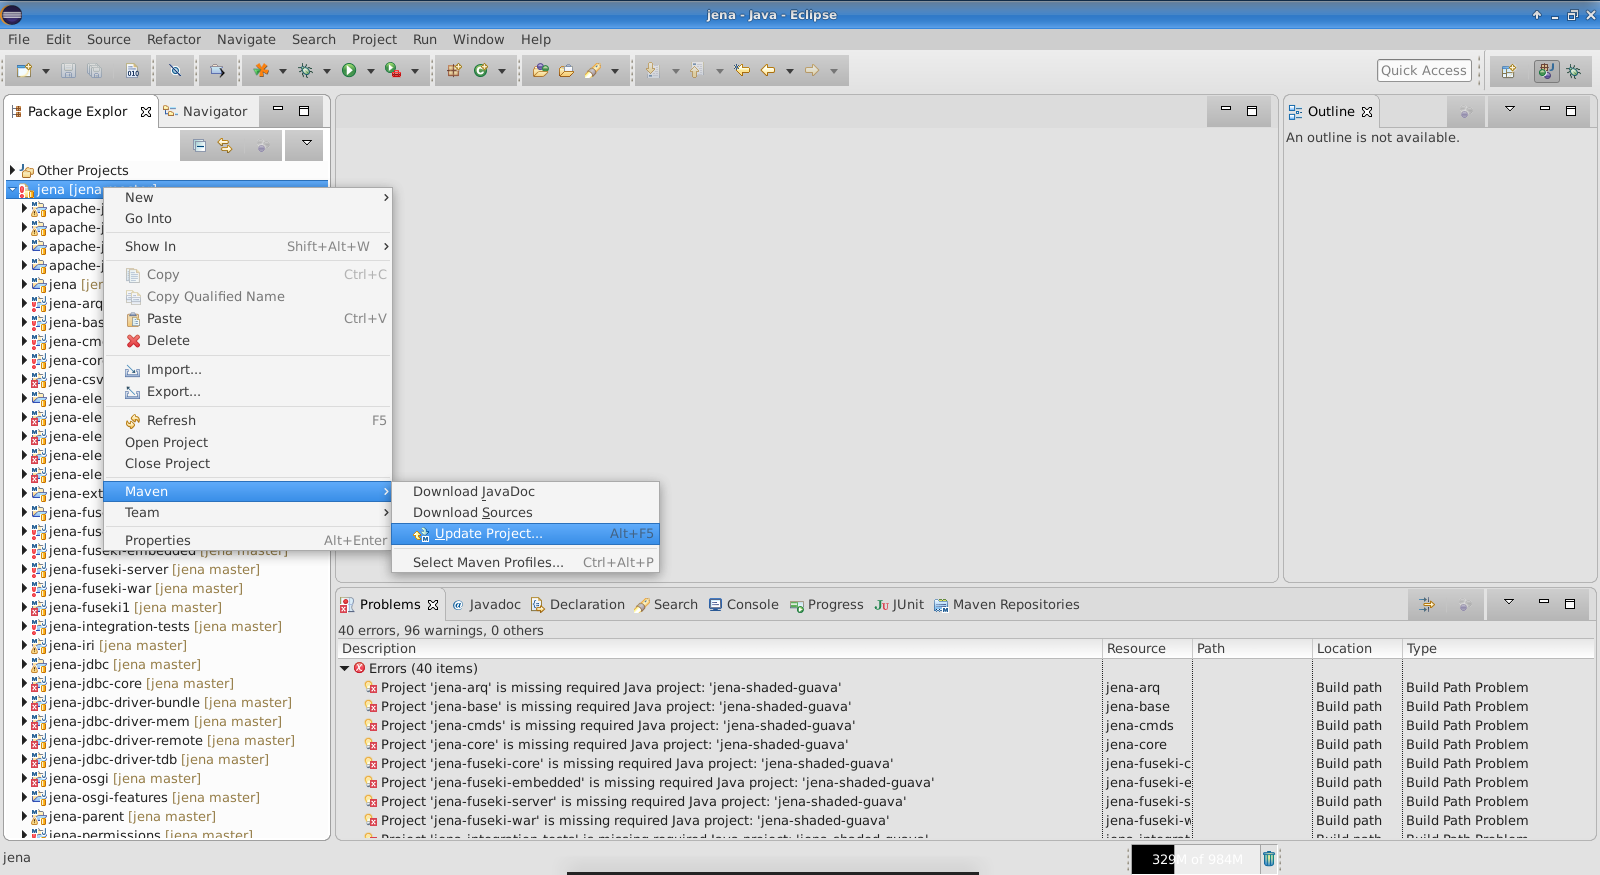
You may also need to update the Maven project settings, so that Eclipse is aware that the project is closed and it will use a local artifact, rather than the module in the workspace.
If you followed all steps, and there is nothing else running in your Eclipse (check the Progress tab) then your Jena project should have been built with success.
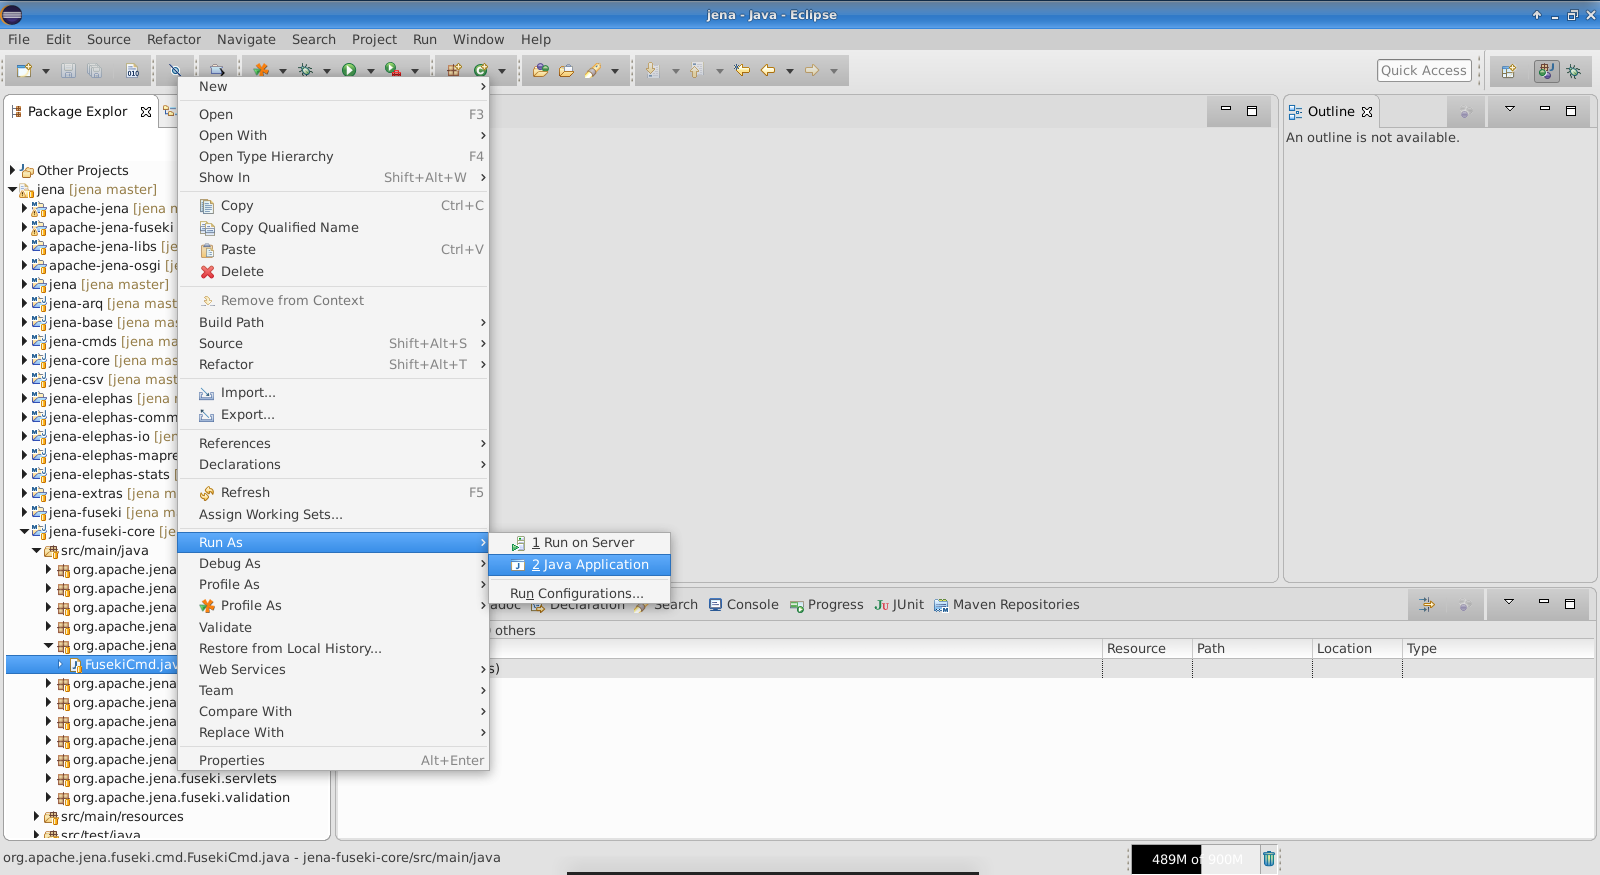
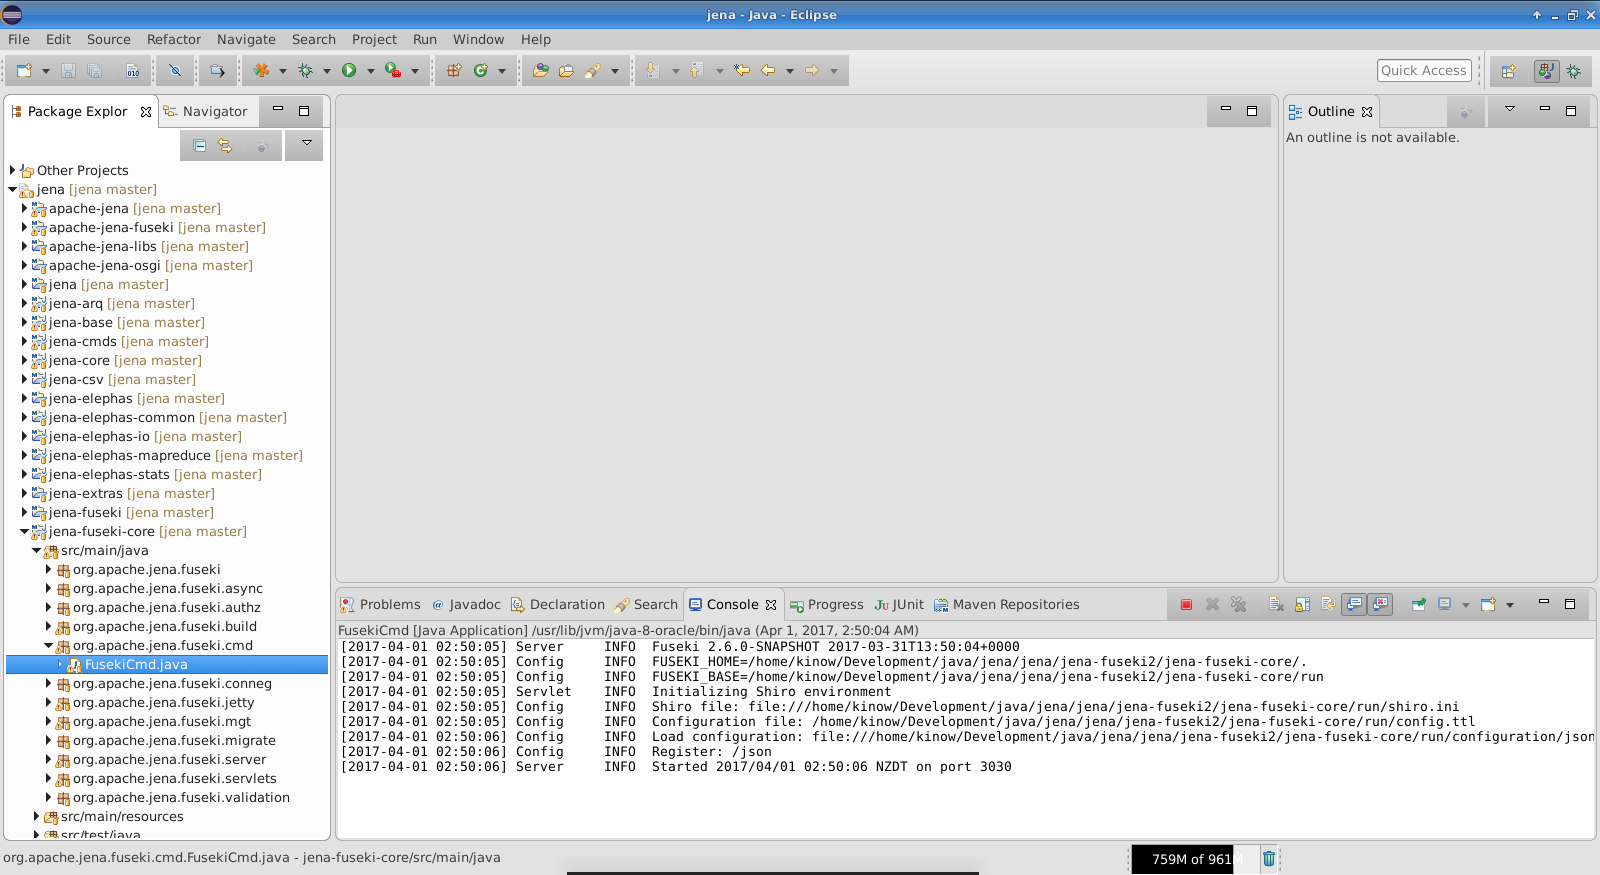
If you would like to test Fuseki now, for example, you can expand the jena-fuseki-core Maven module, navigate to the org.apache.jena.fuseki.cmd package, and run FusekiCmd as a Java Application.
That should initialize Fuseki, and have it listening on http://localhost:3030.
Now you should also be able to debug Jena, modify the source code and build the project again, or import or create other projects into your workspace, and use them with the latest version of Jena.